If you’re a gamer, you know that having a powerful computer is essential for enjoying the latest games.
Unfortunately, buying a pre-built gaming PC can be quite expensive. Luckily, building your own gaming PC on a budget is easier than you might think. In this guide, i’ll go through the steps you need to follow to build a gaming PC that won’t break the bank.
Step 1: Set Your Budget
The first step to building a gaming PC on a budget is to determine how much you’re willing to spend.
The good news is that you can build a decent gaming PC for around $500-700 (Rs. 40000 plus), depending on the parts you choose.
It’s important to remember that you don’t need to buy the most expensive components to have a good gaming experience.
Step 2: Choose Your Components
Once you’ve set your budget, it’s time to start picking out the components for your gaming PC. Here are the essential components you’ll need:
CPU: The CPU (central processing unit) is the brain of your PC. You’ll want to choose a CPU that’s powerful enough to handle the latest games without breaking the bank. AMD’s Ryzen 5 3600 or Intel’s Core i5-10400F are both great options for budget gaming PCs.
GPU: The GPU (graphics processing unit) is what allows you to play games with high-quality graphics. Nvidia’s GTX 1650 or AMD’s Radeon RX 570 are both good choices for a budget gaming PC.
Motherboard: The motherboard is the backbone of your PC, connecting all the components together. You’ll want to make sure that the motherboard you choose is compatible with the CPU and GPU you’ve chosen.
RAM: RAM (random access memory) is what allows your PC to run multiple programs at once. For a budget gaming PC, you’ll want at least 16GB of RAM.
Storage: You’ll need some storage to install your games and other programs. A 500GB or 1TB SSD drive should be enough for most people. Don’t go traditional hard drive for gaming. It may lag while gaming.
Power Supply: The power supply unit (PSU) is what provides power to your PC. You’ll want to choose a PSU that’s powerful enough for your components. A 500W power supply should be enough for a budget gaming PC.
Case: The case is what holds all your components together. You’ll want to choose a case that’s the right size for your components and has good ventilation to keep your PC cool.
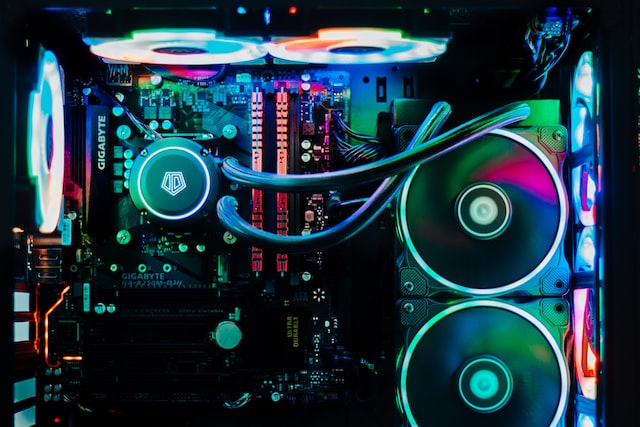
Step 3: Assemble Your PC
Now that you have all your components, it’s time to assemble your gaming PC. Here are the basic steps you’ll need to follow:
- Install the CPU onto the motherboard.
- Install the RAM onto the motherboard.
- Install the GPU onto the motherboard.
- Install the hard drive and/or SSD into the case.
- Connect all the cables from the PSU to the components.
- Install the motherboard into the case.
- Connect any additional fans or cooling systems.
- Close up the case and power on your PC.
Step 4: Install Your Operating System and Drivers
Once you’ve assembled your PC, it’s time to install your operating system and drivers.
You can download Windows 10 / 11 directly from Microsoft’s website, or you can purchase a license key from a retailer. You’ll also want to download the latest drivers for your components, which you can find on the manufacturer’s website.
Step 5: Install Your Games and Enjoy!
Now that you’ve installed your operating system and drivers, it’s time to install your games and start playing! You can purchase games directly from Steam or other digital game retailers.